Fitting Tile Trim After Tiling Uk

Repost Protileanglesey Get Repost White Metro Tiles With A Wood Plank Shelf Finished With Chrome Straight Edge Wood Plank Shelves Metro Tiles Wood Planks

How To Make Exposed Tile Edges Look Finished Tile Edge Bullnose Tile Backsplash

Porcelain Wall Tiling In An Installation Project By Uk Bathroom Guru Tile Trim Bathroom Installation Tile Edge

Quarter Round Trim Ending Tile To Wall Bathtub Tile Tile Edge Tile Trim

Schluter System Rondec Chrome Edge Profiling Master Bathroom Decor Tile Edge Shower Renovation

How To Finish Tile Edges And Corners Tile Mountain

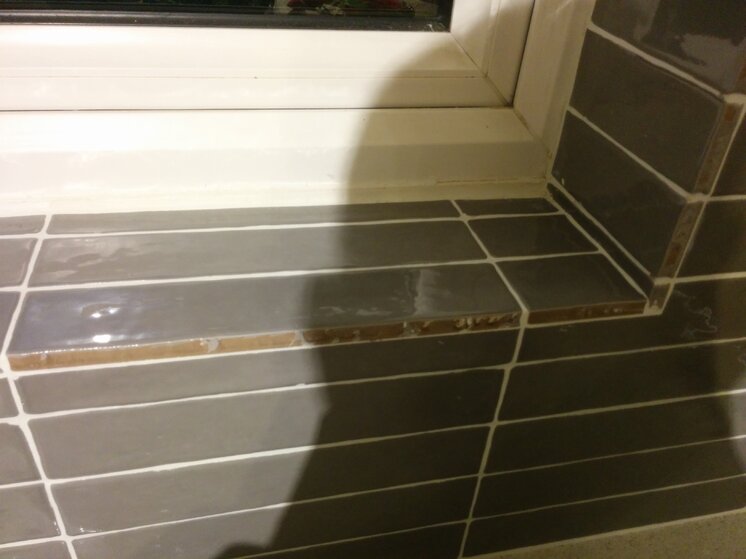
Plan the installation of your tile trim alongside the installation of your tiles.
Fitting tile trim after tiling uk.
Trim After Tiling Tilersforums Com Tiling Forum

Livin On The Edge Tile Edge Tile Edge Trim Shower Tile

How To Finish Tile With Metal Edging Dans Le Lakehouse Metal Edging Tile Edge Tile Trim

Tile Outside Corners Tile Edge Trim In Aluminium Concealed Outside Corner Mosaictec Rjf Tile Edge Tile Edge Trim Tile Trim

Tile Trim Profile Jpg 1000 1000 Pisos De Baldosas Pisos Para Banos Escaleras Interiores Modernas
Tileasy 12mm Cobalt Grey Square Edge Metal Tile Trim Cgat12 Tile Trim Tile Edge Tile Cladding

Image Result For Schluter Strips Around The Window Tile Trim Window In Shower Tile Around Window

How Far Out Beyond Tub Shower To Tile Bathrooms Forum Gardenweb Shower Tub Bathtub Tile Tile Bathroom

White Plastic Square Edge Tile Trim 2 5m Tile Trim White Bathroom Tiles Bathrooms Online

Schluter Edge On Shower Niche Shower Niche Bathroom Remodel Shower Bathroom Design Small Modern

Bathroom Window Tile Trim Ideas In 2020 Tile Trim Wall Trim Bathroom Windows

Schluter Brushed Stainless Kerdi Drain Brushed Stainless Schiene Shower Tile Bathroom Shower Walls Bathroom Shower Design

Metal Edge On Tile Bathroom Update Metal Trim Bathroom Makeover

How To Finish Tile Edges And Corners Tile Mountain In 2020 Tile Edge Shower Tile Tile Trim

Profile Trim For Mitred Ceramic Tile Coverings Filojolly Rjf Filojolly Collection By Profilitec Home Depot Bathroom Tile Trim Tile Edge

Aluminum Edge Trim For Tiles Outside Corner Schluter Eck E Schluter Systems Bathroom Wall Tile Tile Edge Wall Tiles

Metal Box Stainless Steel Effect Tile Trim Tile Trim Tile Edge Tile Cladding

Aluminium Y Section Tile Trim Like By Atelierdia Diaism Acquire Understanding Tjann Mohd Hatta Ismail Tiling Tools Tile Trim Joinery Details
3

Mosaic Border Tiles In An Installation Project By Uk Bathroom Guru Tile Bathroom Modern Bathroom Bathroom

Tiled Skirting Board With Chrome Trim Tile Floor Ceramic Floor Tile Tile Trim

Sleek Simple Schluter Com Tile Countertops Kitchen Kitchen Remodel Countertops Tile Countertops

Pin By Unhwa Ruckel On Bathroom In 2020 Tile Edge Tile Bathroom Bathroom Wall Tile

Slikovni Rezultat Za Marble Baseboards High Tile Tile Baseboard Bathroom Baseboard Baseboards
Source : pinterest.com
